Appearance
USE THE CURRENT OPENID GUIDE
This page describes an older OpenID plugin flow.
For current projects using the Authentication subtab in Data & API, use OpenID Connect (Authentication System) →.
OpenID
OpenID is a layer on top of the OAuth 2.0 protocol that allows you to authenticate users and get their basic profile from the OAuth provider of your choice, including but not limited to Google, Slack, LINE, etc.
How you configure the OpenID plugin in WeWeb will depend on the OAuth provider you are working with. In this article, we will demonstrate using Google OAuth.
Provider setup
Before you configure OpenID in WeWeb, collect the values your provider gives you:
- The issuer URL (provider domain used for OpenID discovery)
- A client ID
- The scopes you want to request (for example
openid profile email) - The allowed origins and callback URLs for each environment (
Editor,Staging, andProduction)
How you get this information will depend on your OAuth provider.
To allow users to signup or login with their Google account, you would need to:
- Go to the Google Cloud Console, and
- Create a new project
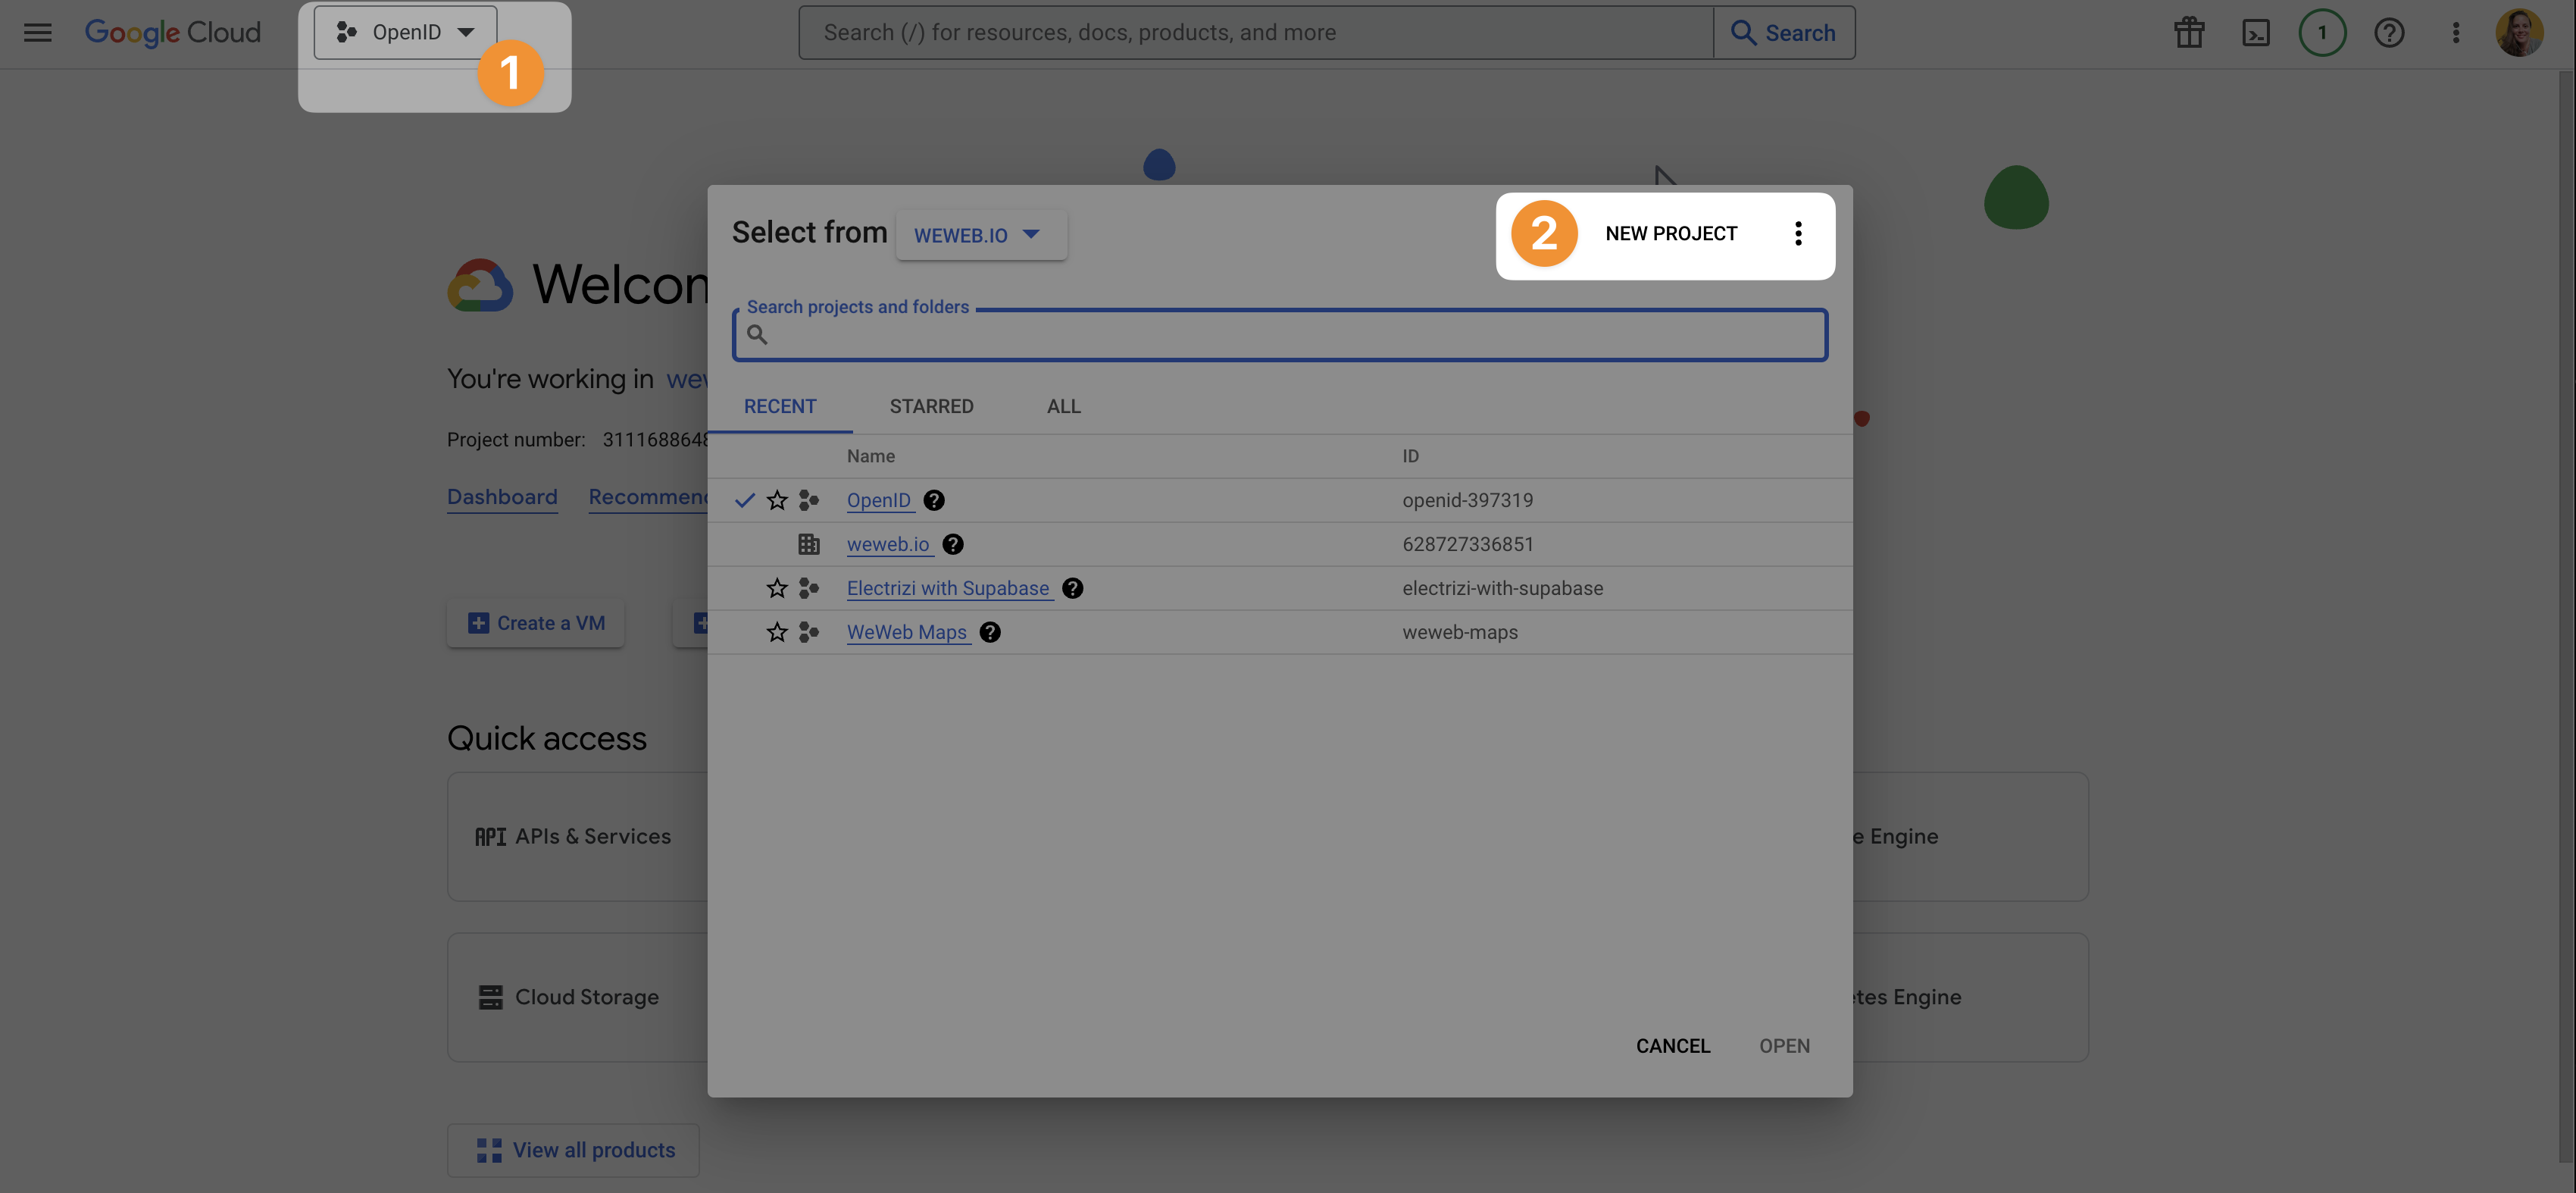
Once you've created a project, you'll be able to configure the provider's consent screen and get credentials so WeWeb can make secure requests to the provider via the OpenID plugin.
OAuth consent screen
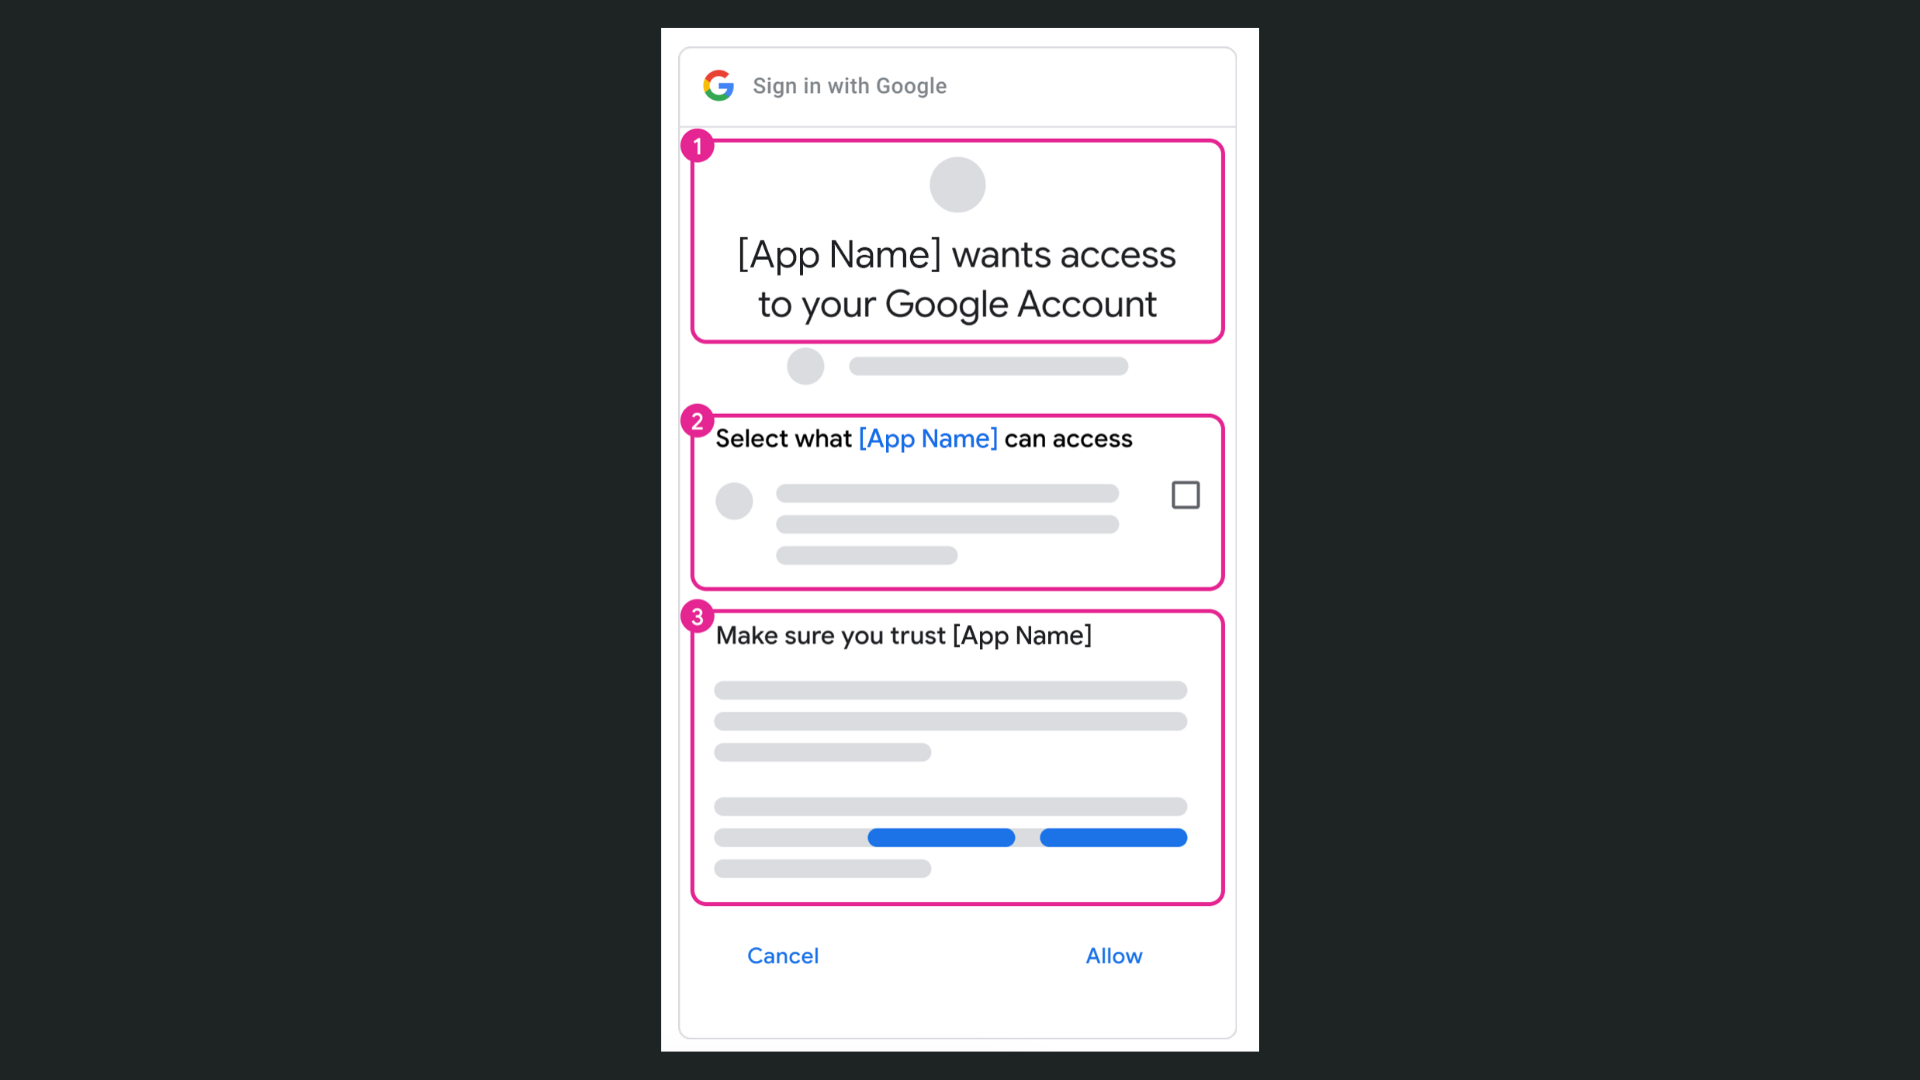
The OAuth consent screen is the screen the user will see when they choose to connect with the provider.
For example, the Google consent screen looks something like this:
To configure the Google OAuth consent screen, you'll need to go to APIs & Services > OAuth consent screen:
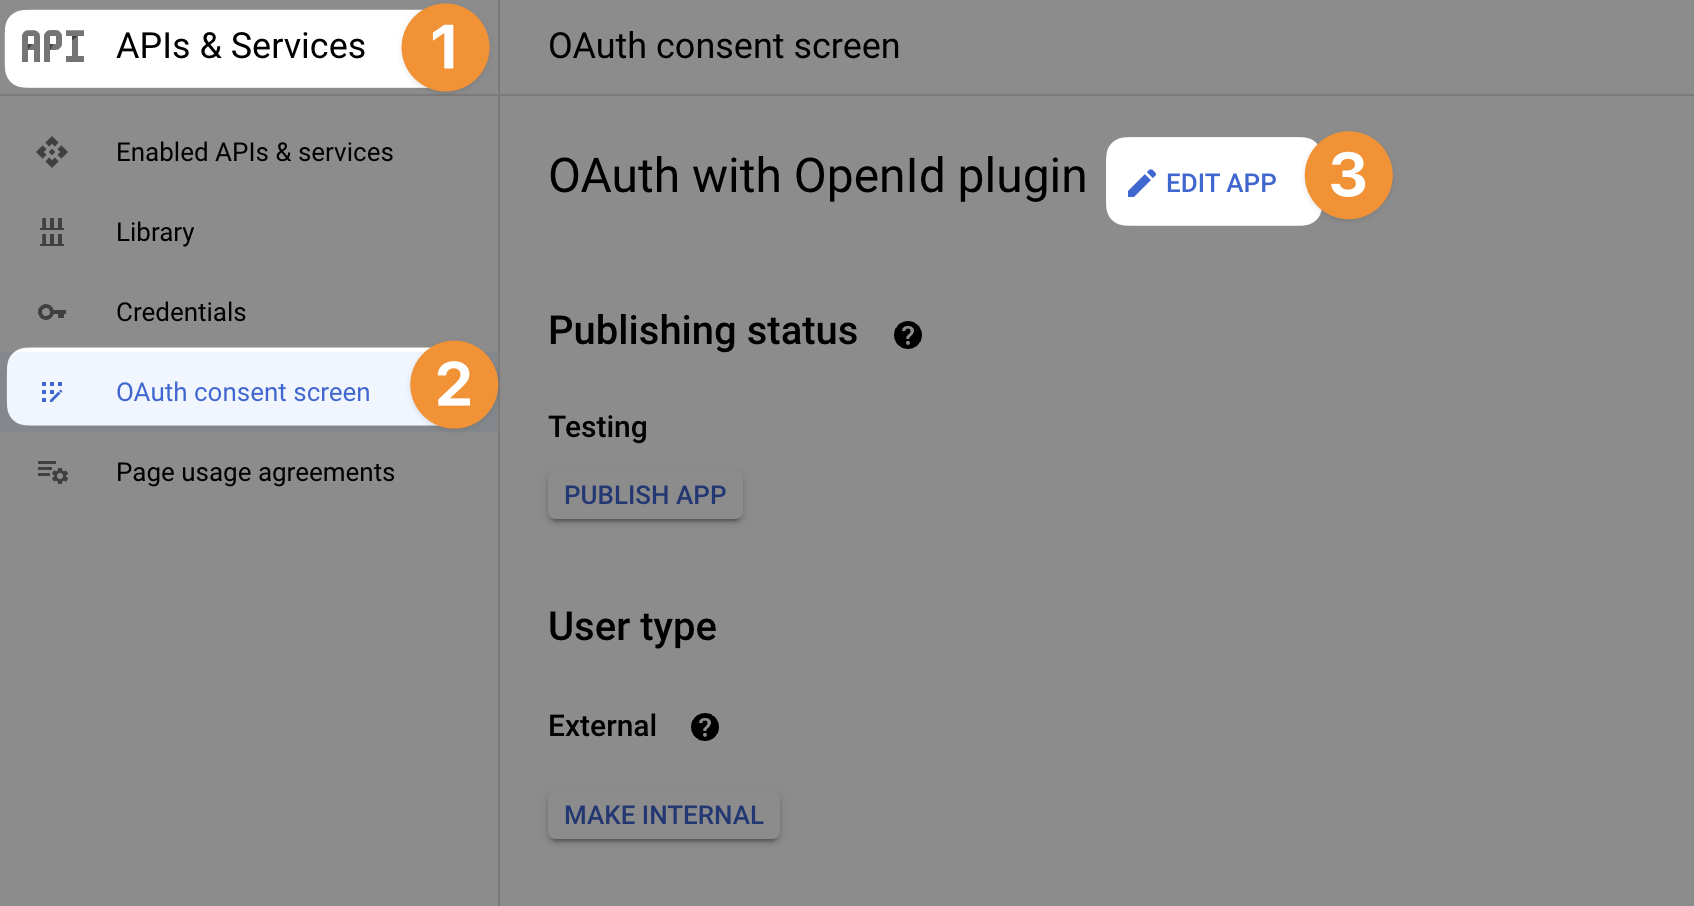
At that stage, the provider will ask for some information such as:
Branding – For example, what is the name of your application and its logo.
Contacts – For example, a developer and/or support email address.
User type – Whether your app is reserved for people in your company (internal) or open to people outside your organization (external)
Authorized domains – A list of domain names that are authorized to make a request for autentication to the provider. For example,
weweb.ioSo it works when you're testing inside the WeWeb Editor,weweb-preview.ioTo test the auth flow on a published app without a custom domain, and- Your own custom domain to ensure it works properly on your live app
Scopes – To define what users will be giving access to (e.g. just their basic info or also their calendar).
Test users – A list of test users who can test the app while it's under development.
TIP
Depending on the provider, some of these will be optional. What is never optional is listing which domains are authorized to make a call to the provider. Make sure to get those right and don't forget to add your custom domain later if you don't have it from the start.
API keys & credentials
In order for the provider to authorize the call you make through the OpenID plugin in WeWeb, you'll need create OAuth credentials in the provider's interface and copy them in WeWeb when you configure the plugin (but more on that later).
In Google, you can do this by going to APIs & Services > Credentials > Create credentials > OAuth client ID:
At that stage, the provider will ask for information such as:
Name – You will be invited to name the credentials. It doesn't really matter what you name it but it's helpful if it's descriptive enough that you know where you're using them. For example, you could name them: OpenID via WeWeb
REPLACE THE PROJECT ID
In the examples below, replace 4132ed05-ba19-4dc2-9867-ba4d4f9a9d76 with your own project ID from WeWeb.
Authorized JavaScript origins – A list of all the domains your web-app is hosted on. For example:
- The WeWeb editor:
https://4132ed05-ba19-4dc2-9867-ba4d4f9a9d76-editor.weweb.io - Your app in staging:
https://4132ed05-ba19-4dc2-9867-ba4d4f9a9d76-staging.weweb.io - Your app in production:
https://www.your-custom-domain.com
Authorized redirect URIs – A list of URIs where users can be redirected after being authenticated. For example:
- The page in the WeWeb editor:
https://4132ed05-ba19-4dc2-9867-ba4d4f9a9d76-editor.weweb.io/86d66b45-bedd-47e9-a2ae-c1af5a1b2f5d - The page in the app in staging:
https://4132ed05-ba19-4dc2-9867-ba4d4f9a9d76-staging.weweb.io/post-login/ - The page in production:
https://www.your-custom-domain.com/post-login/
These links should correspond to the page where users are redirected after being authenticated through the OpenID plugin in all the environments of your app (e.g. the WeWeb editor, in staging, in production).
It should match the URIs of the page you defined in the OpenID plugin in WeWeb:
WARNING
If you need to update these later, for example when you add a custom domain to your app, keep in mind that it can take 5 minutes up to a few hours for the new settings to take effect:
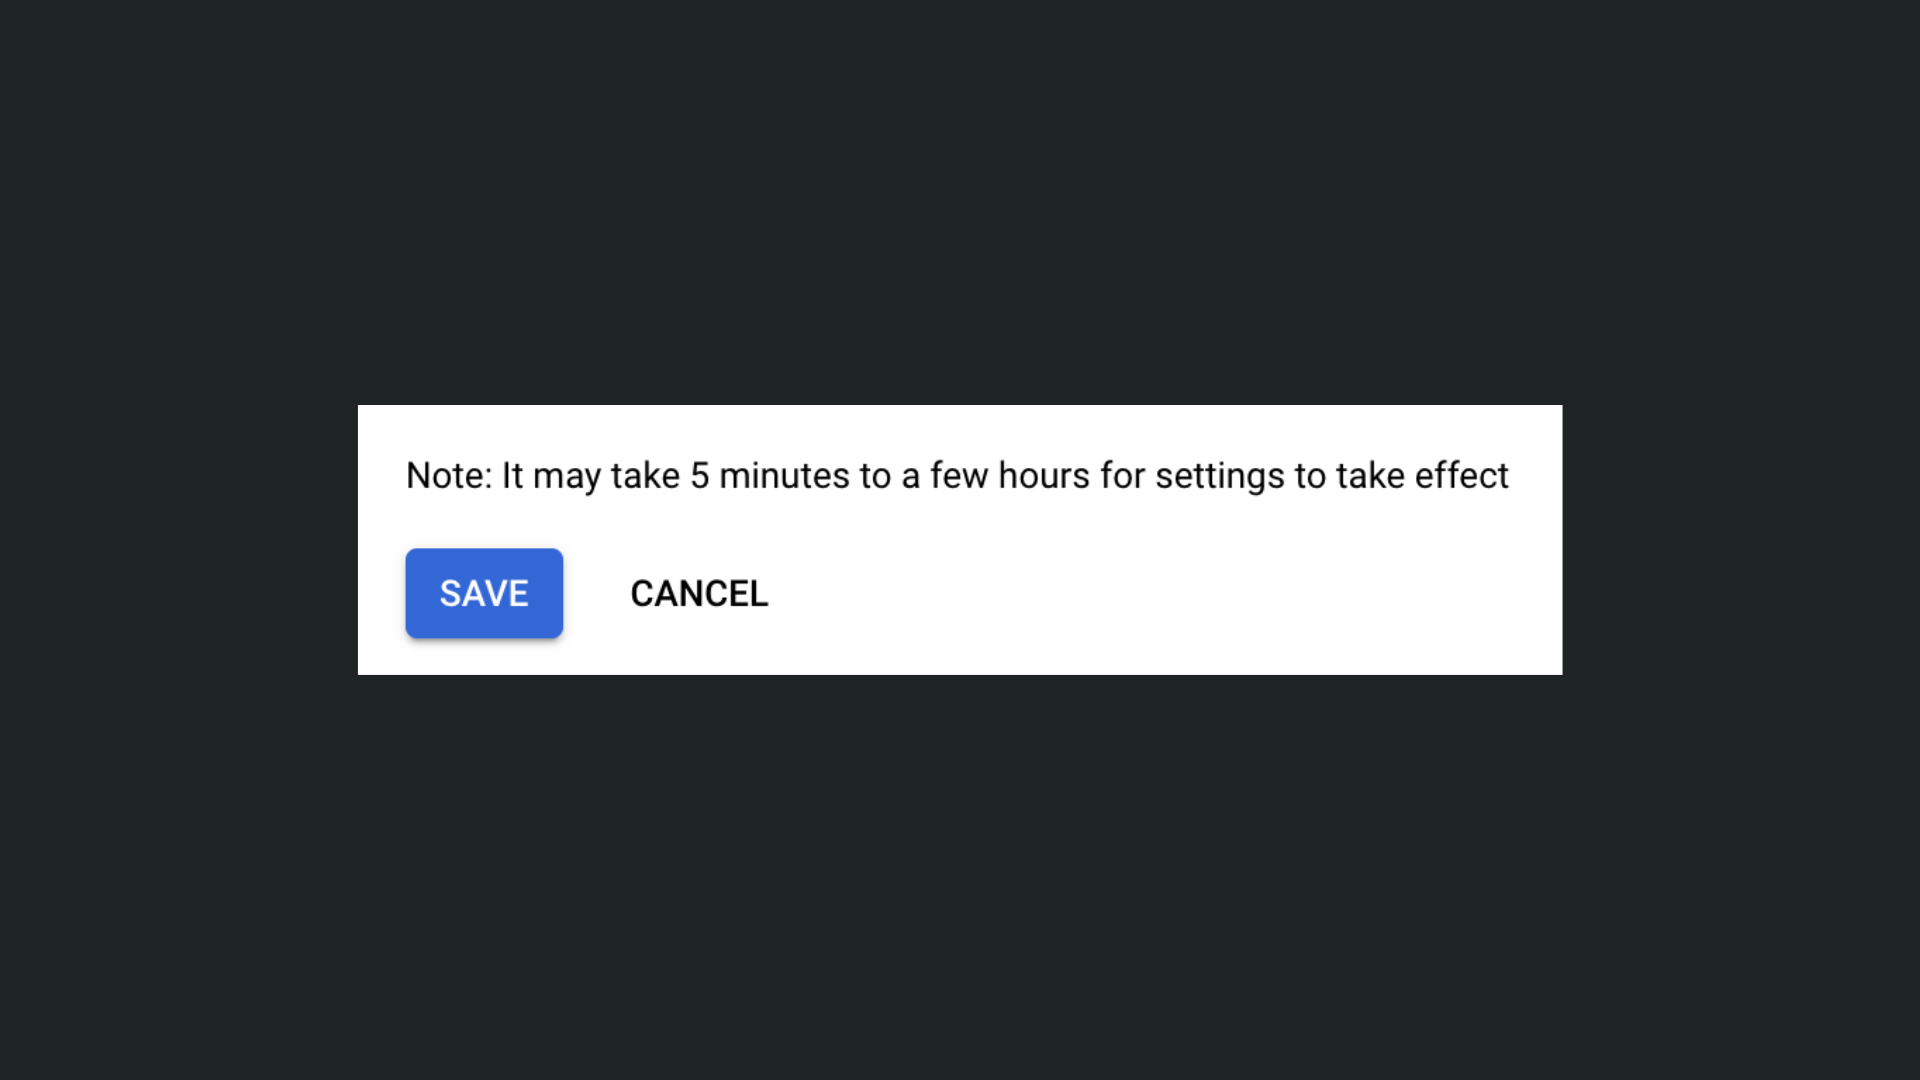
We recommend you stay patient when testing new settings. Testing new settings right away and reverting back because you don't see the difference instantly is a great way to get confused and feel stuck.
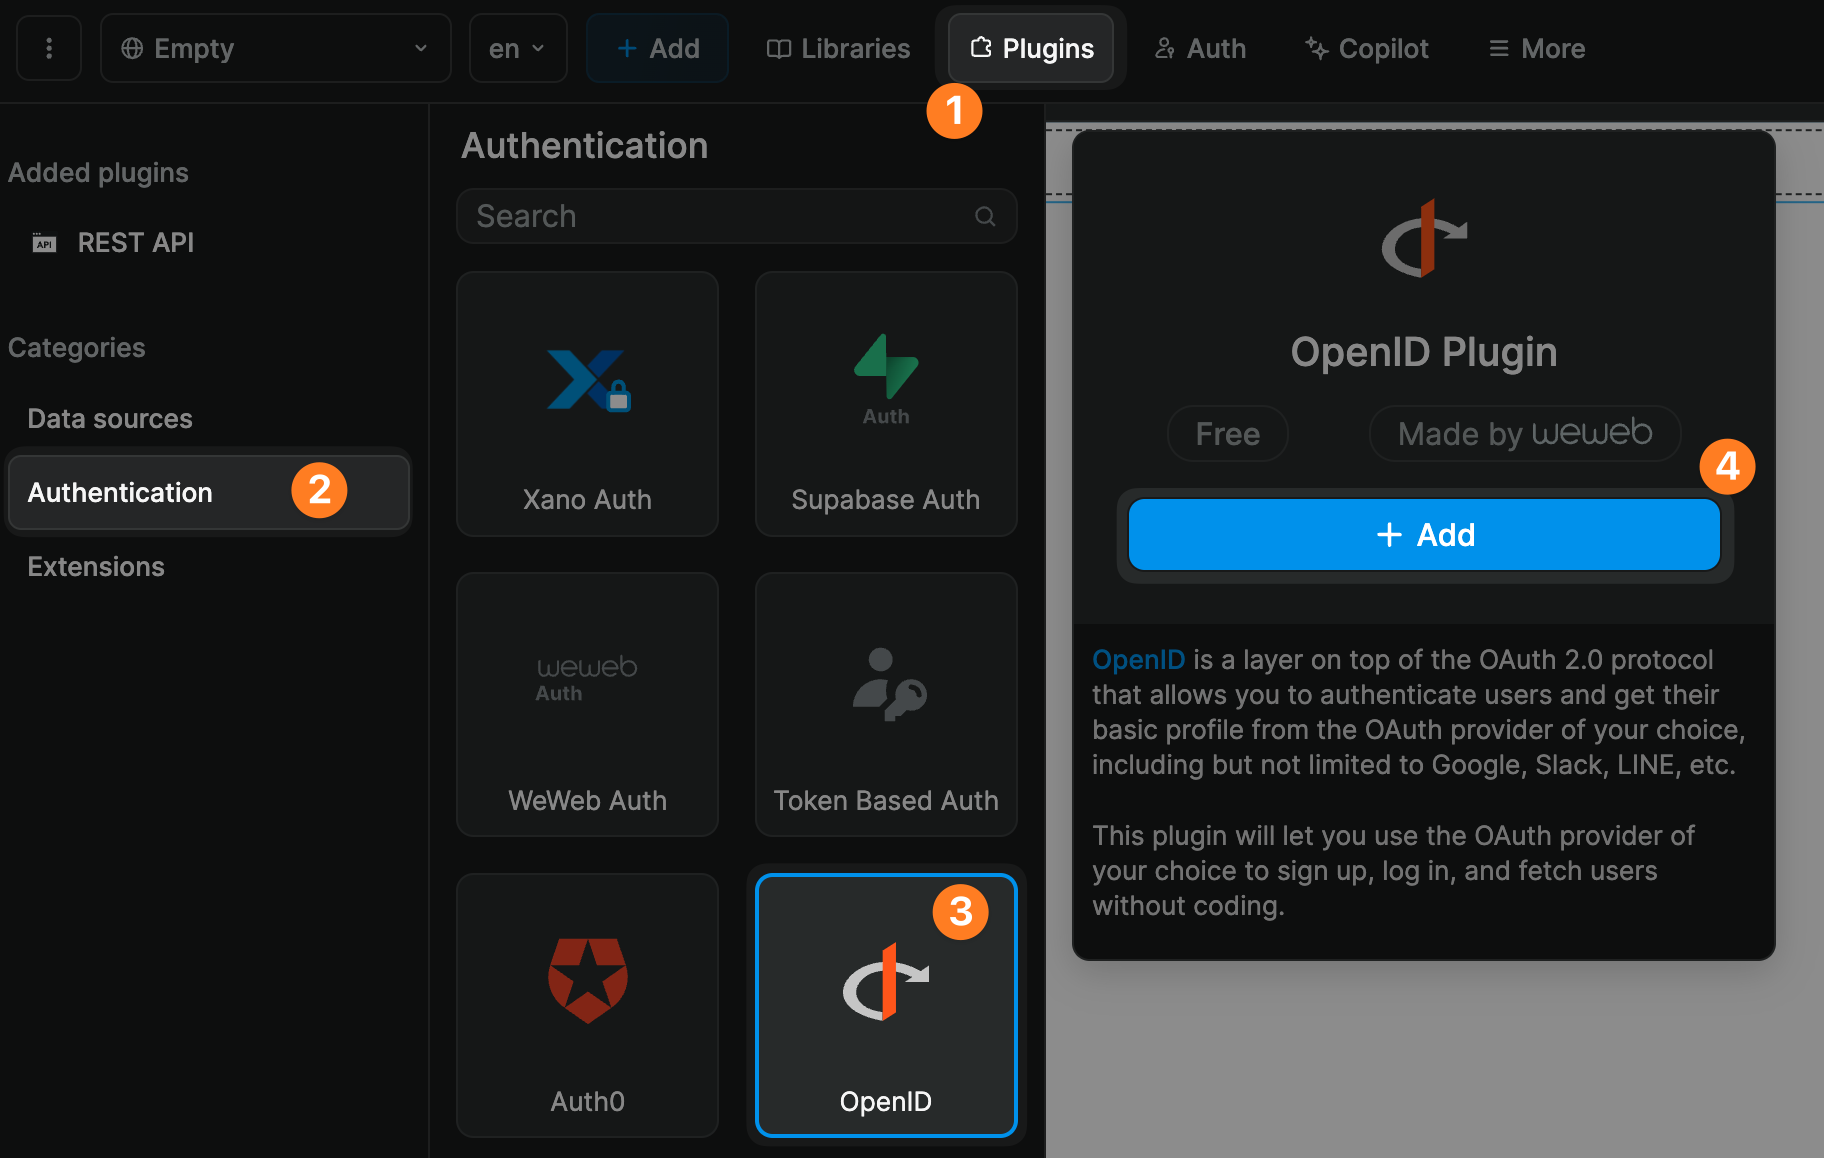
Integration configuration
In WeWeb, open the Data & API tab, then open the Integrations subtab and connect OpenID Connect:
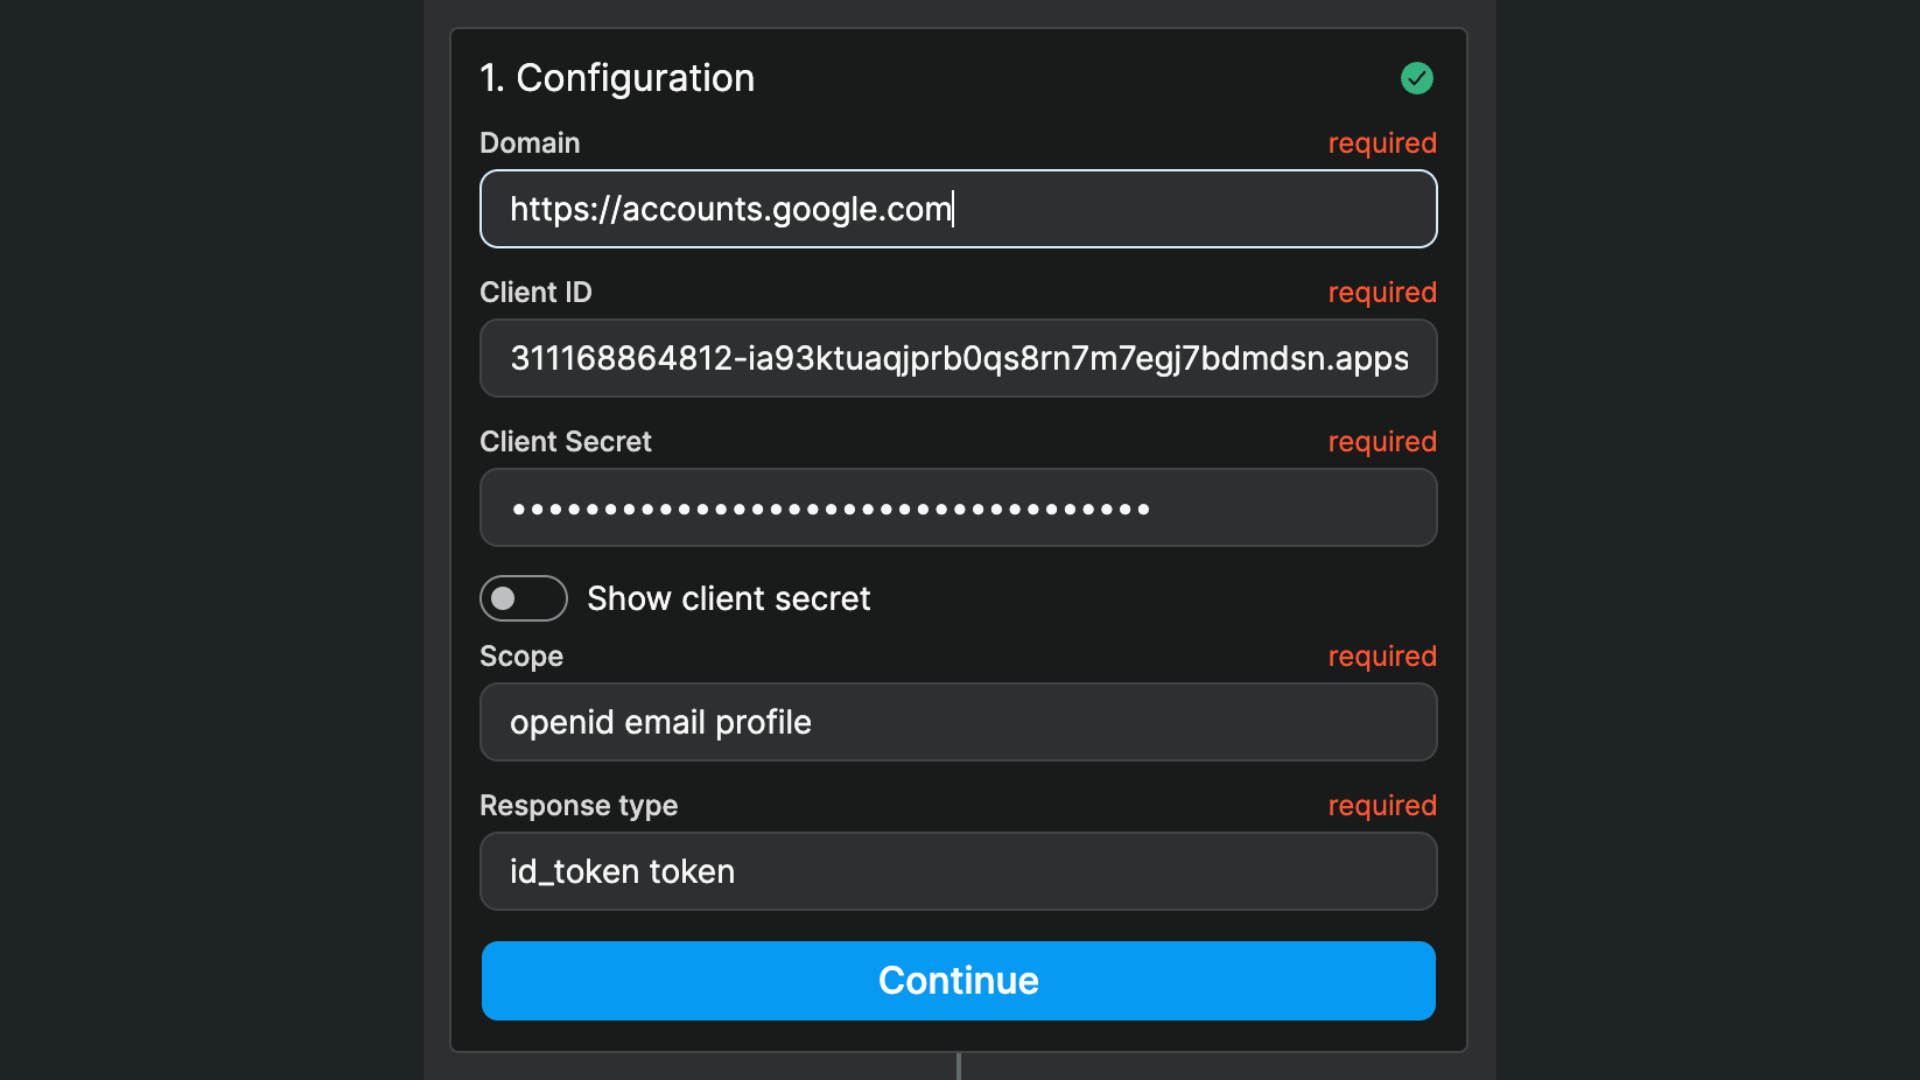
When you connect the integration, fill in:
Issuer URL(For examplehttps://accounts.google.com)Client IDScopes(Optional - defaults toopenid profile email)
The OpenID flow uses redirect mode, and WeWeb now handles callback URLs from the current app URL. You no longer need to set redirect URLs inside the OpenID integration form.
In the example below, you can see:
- We are working with Google as a provider, and
- Are asking for the user email and profile of the user
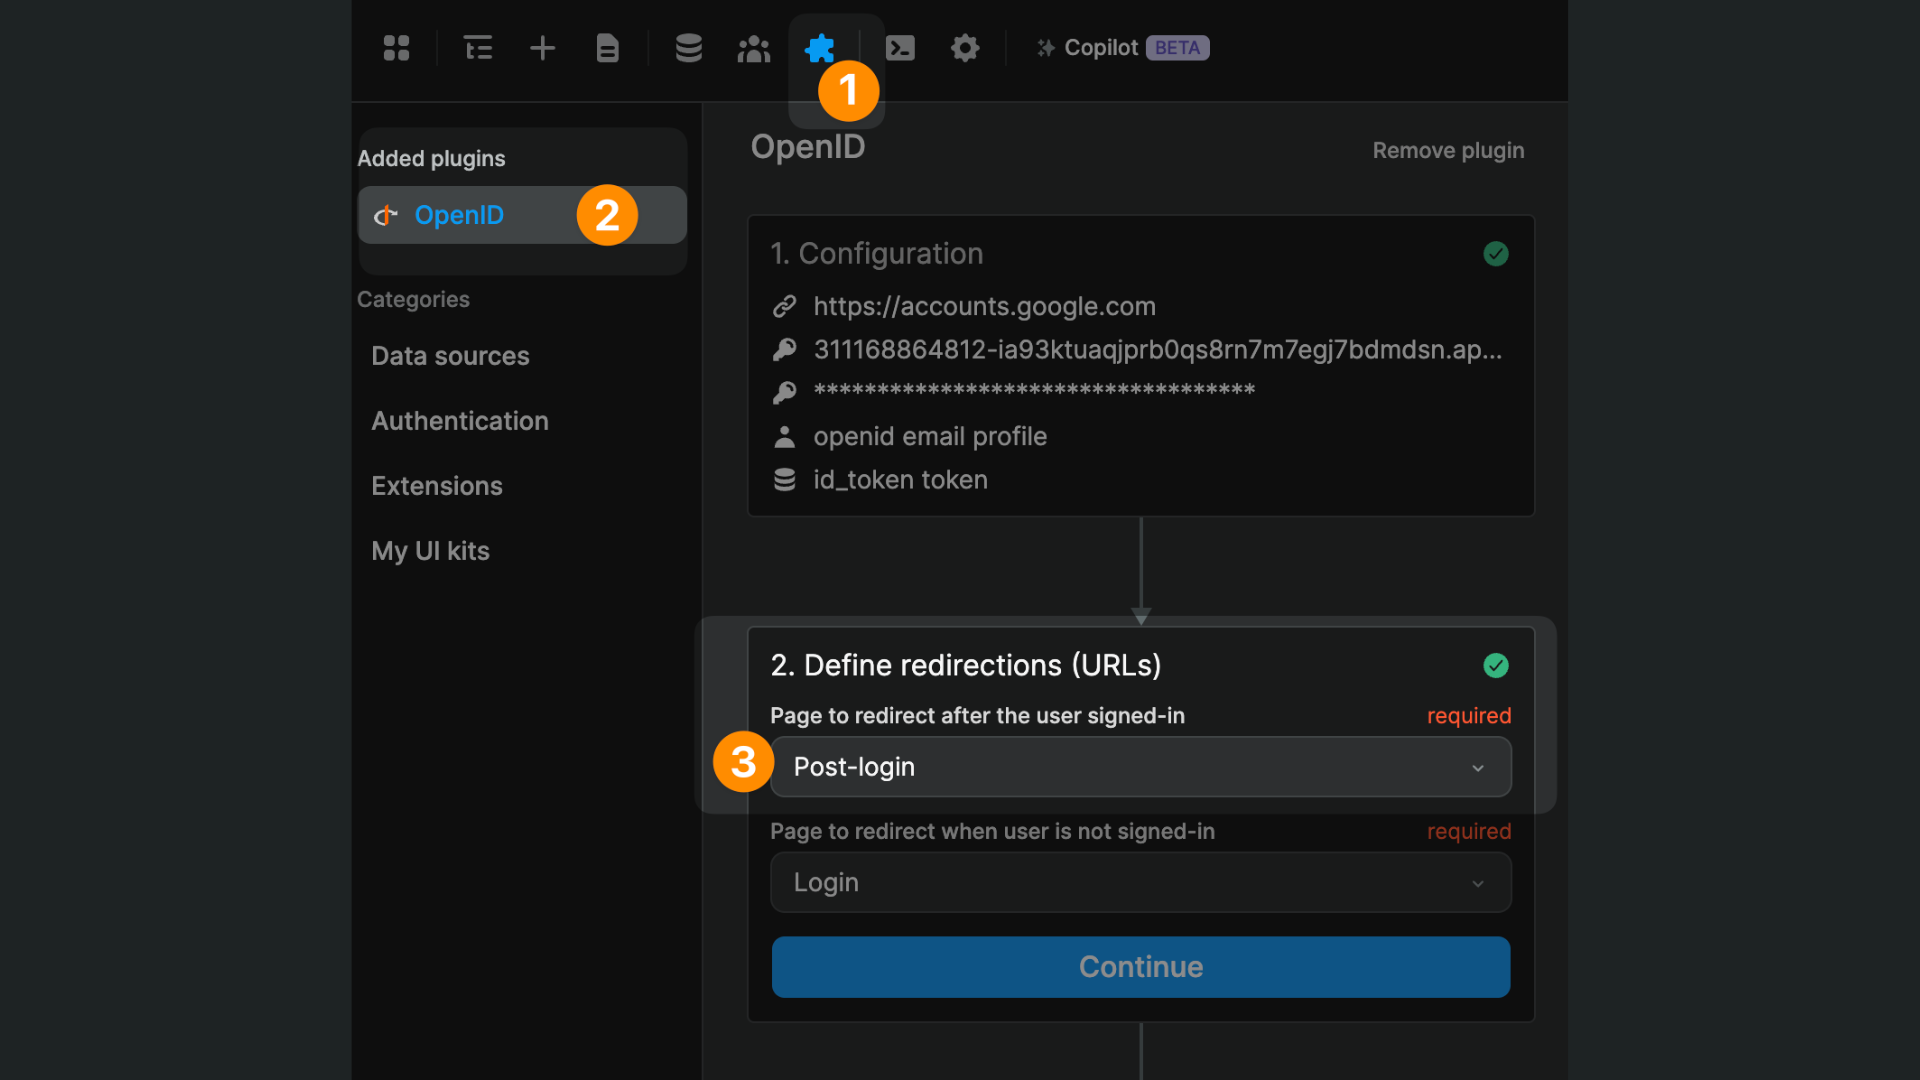
Redirections
After connecting OpenID, define your authentication pages in WeWeb:
- Page after successful sign in
- Page for visitors who are not signed in
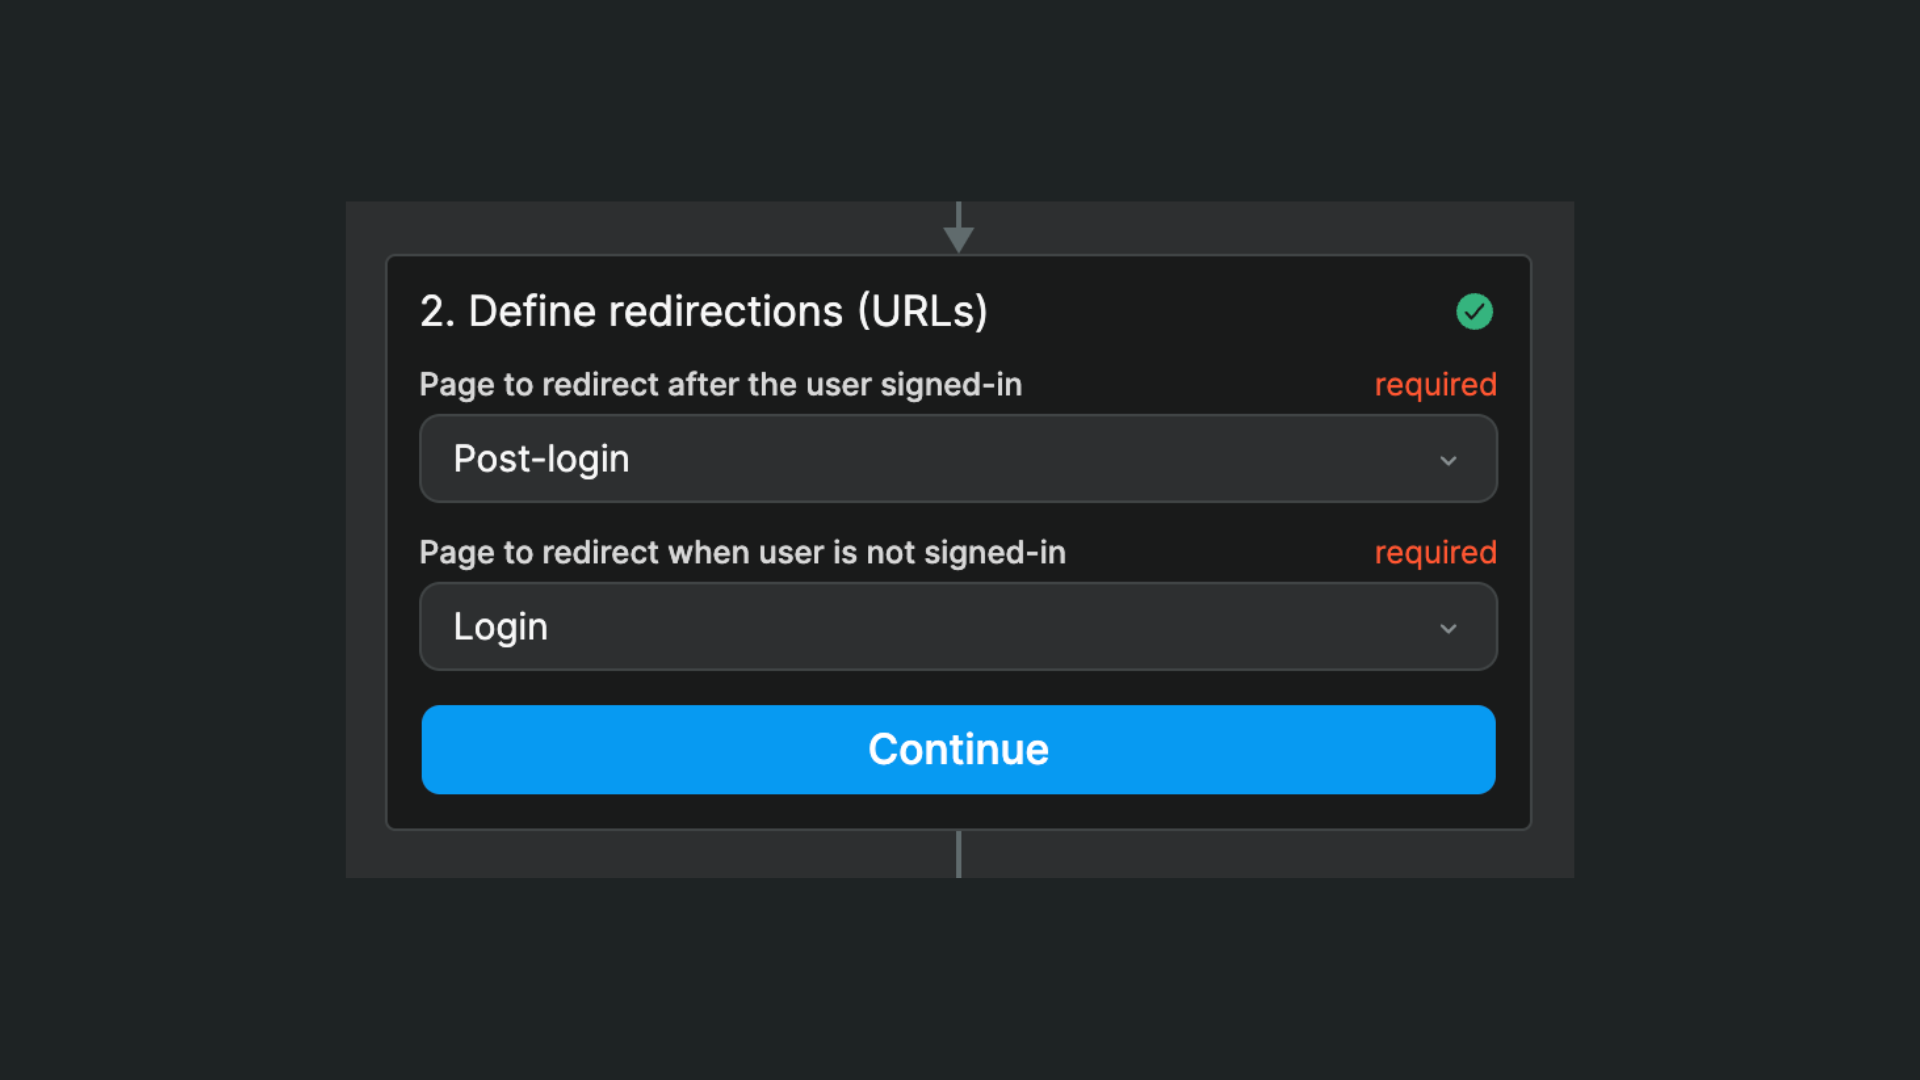
In the example above, we named those pages Post login and Login but we can choose to redirect them to any page we want. For example, we could redirect authenticated users to their profile page and unauthenticated users to the app's home page.
Signup and login flows
Once OpenID is connected, you get dedicated OpenID workflow actions:
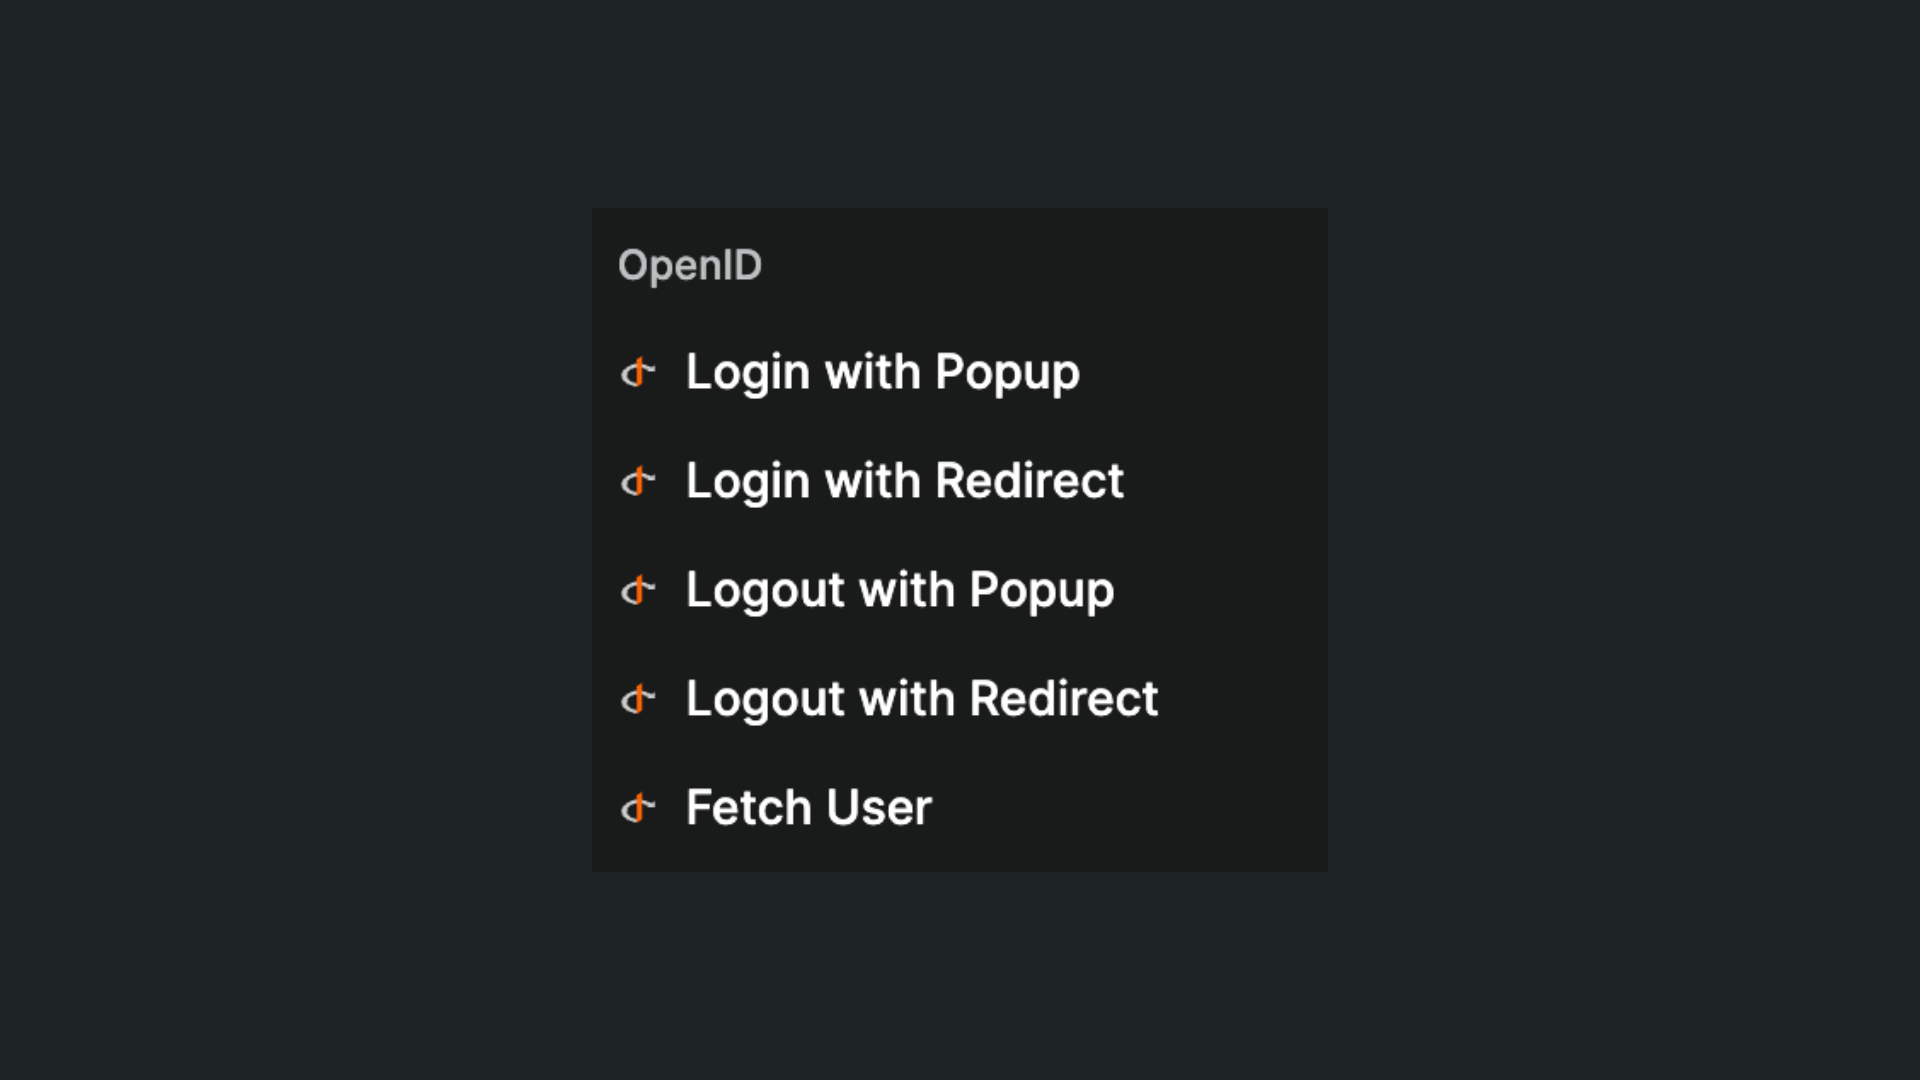
The main actions are:
Sign In - Redirect: Starts the provider login flow.Sign Out - Redirect: Logs the user out through the provider.Get User: Refreshes user data from the provider.
When you use Sign In - Redirect in a workflow, users are sent to your provider login page, then returned to your app and redirected according to your auth page settings in WeWeb.
Even if you have a Navigate to action after the login action in your workflow, the OAuth flow will resolve on the redirect page defined in the plugin and authorized in the provider dashboard.
Advanced redirection
If you want more flexibility on where to redirect authenticated users, you could update a destination page variable before the login action in your workflow to define where the user should be redirected after the login:
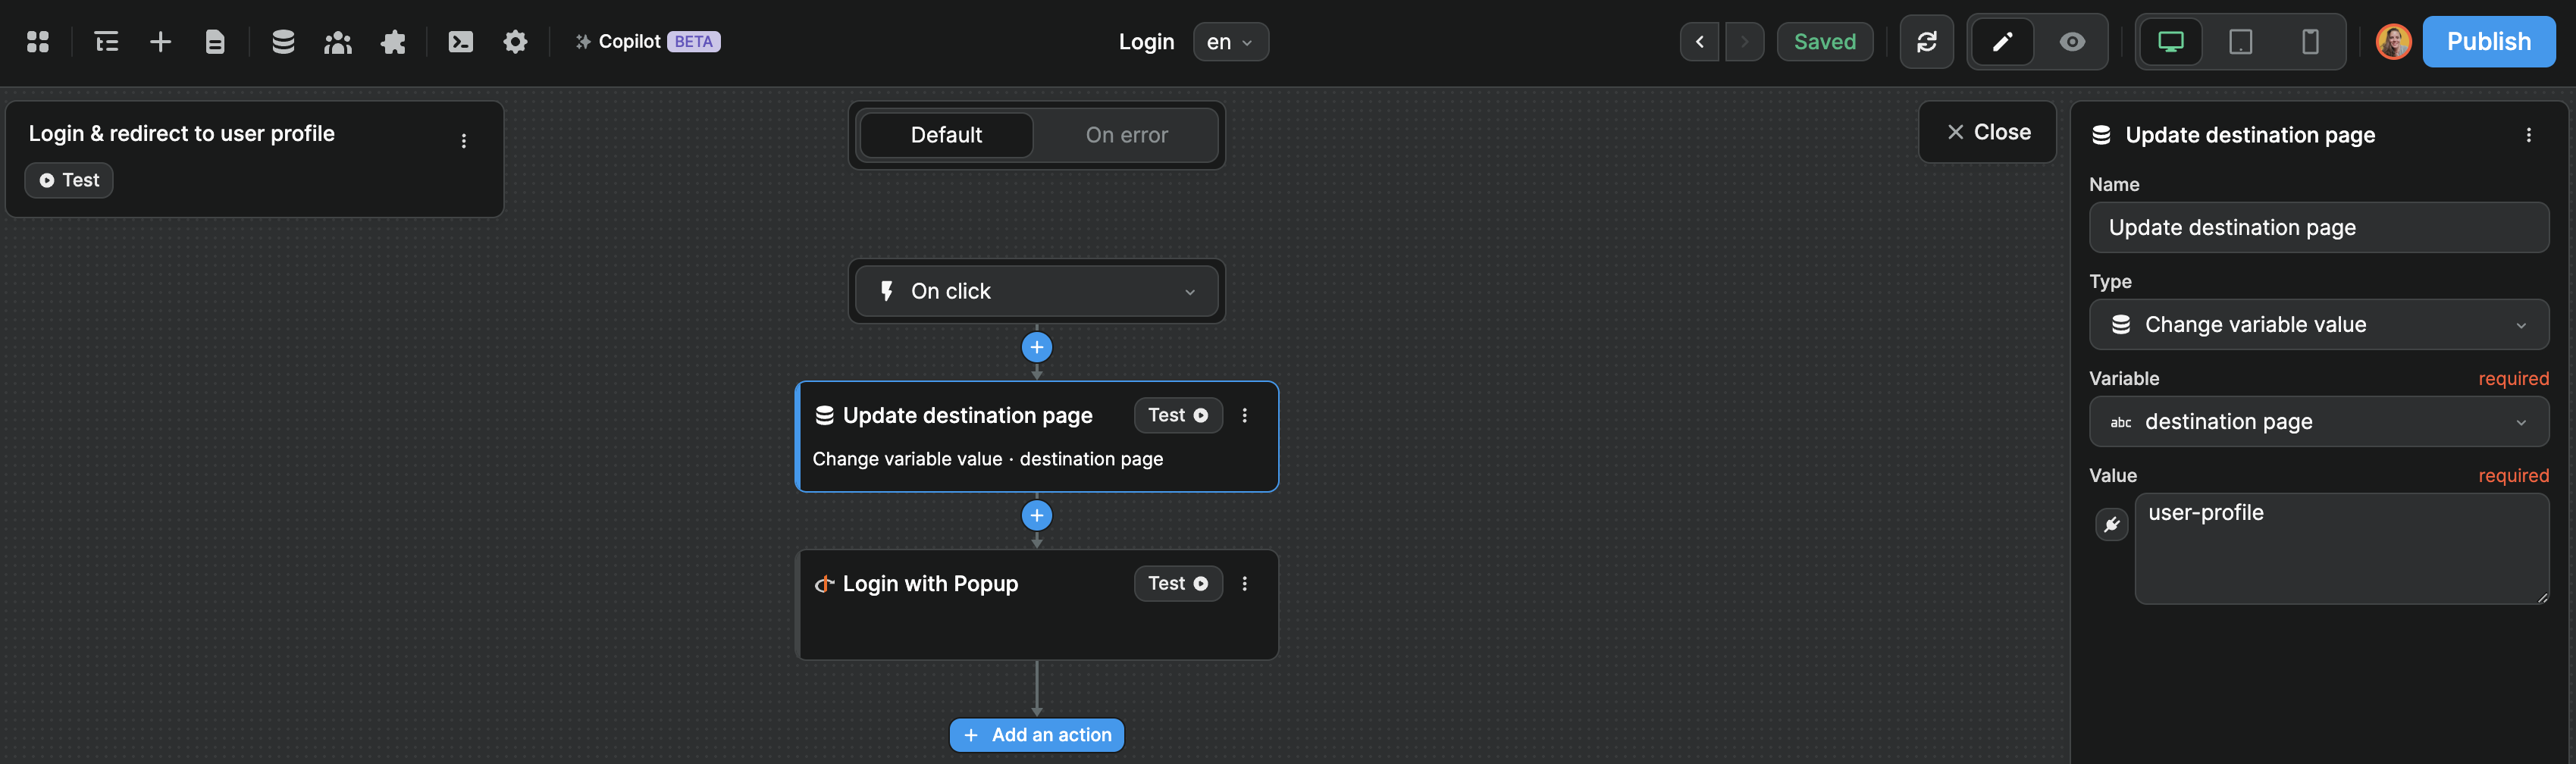
Then, on the post-login page, you can trigger a workflow On Page Load that checks the destination page variable to decide if the user should stay on the post-login page or be redirected to another page like the user profile in the example below: